En el video de hoy les muestro 4 formas diferentes de pintar tulipanes. Vamos a pintar un tulipán simple, tulipánes de forma botánica, un clásico paisaje holandés con su molino y los campos de tulipanes y una jarra con tulipanes. Disfruté mucho pintando estos 4 dibujos, sobretodo el paisaje holandés. Los paisajes en acuarelas son siempre una aventura, donde no se sabe como va a ser su resultado final.
En el video también les muestro cómo pueden hacer sus propios bocetos, pero si prefieren, pueden descargar todos los bocetos listos para pintar directamente desde Patreon. Están disponibles en tres tamaños: 📏 A6 (como tarjetas), 📏 A5 y 📏 A4 (como lámina).
✨ Recomendación: impriman los bocetos directamente sobre papel para acuarelas para lograr un mejor resultado. Los bocetos están en un gris muy claro, ideal para que puedan pintar por encima sin que se note el trazo debajo.
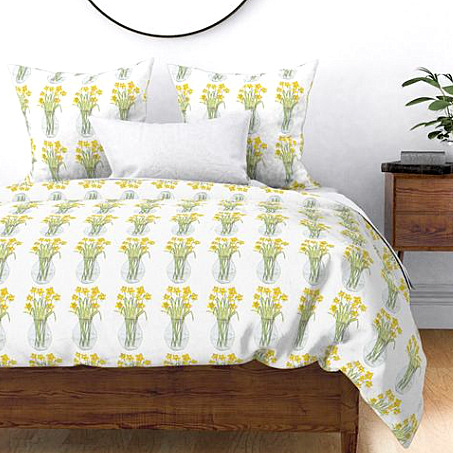
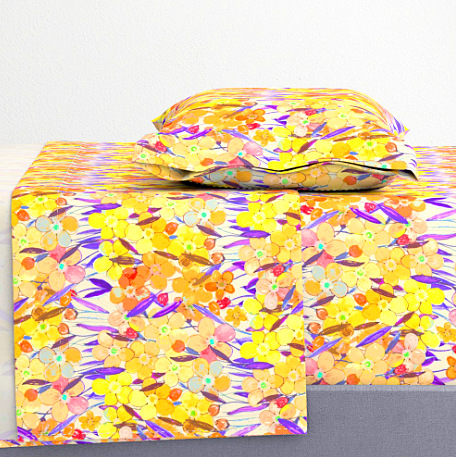
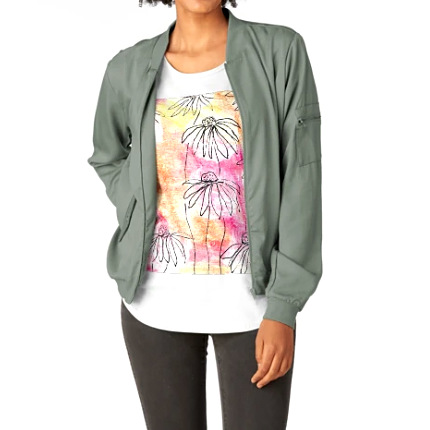
Muchos de mis diseños los convierto en diseños que luego agrego sobre diferentes productos. Están disponibles en Society6, RedBubble y Spoonflowers. Les dejo algunos ejemplos.
En el post de hoy hablo de los planificadores y agendas que voy a estar utilizando y probando en 2025. En el video les muestro las agendas y planificadores que compré y los que les voy a estar entregando a partir del 2025.
Utilizo siempre una agenda principal, importante para mí es que cada día tenga una carilla. Generalmente utilizo Agendas de tamaño A5. Les voy a dejar una lista con los links de las Agendas y planificadores.
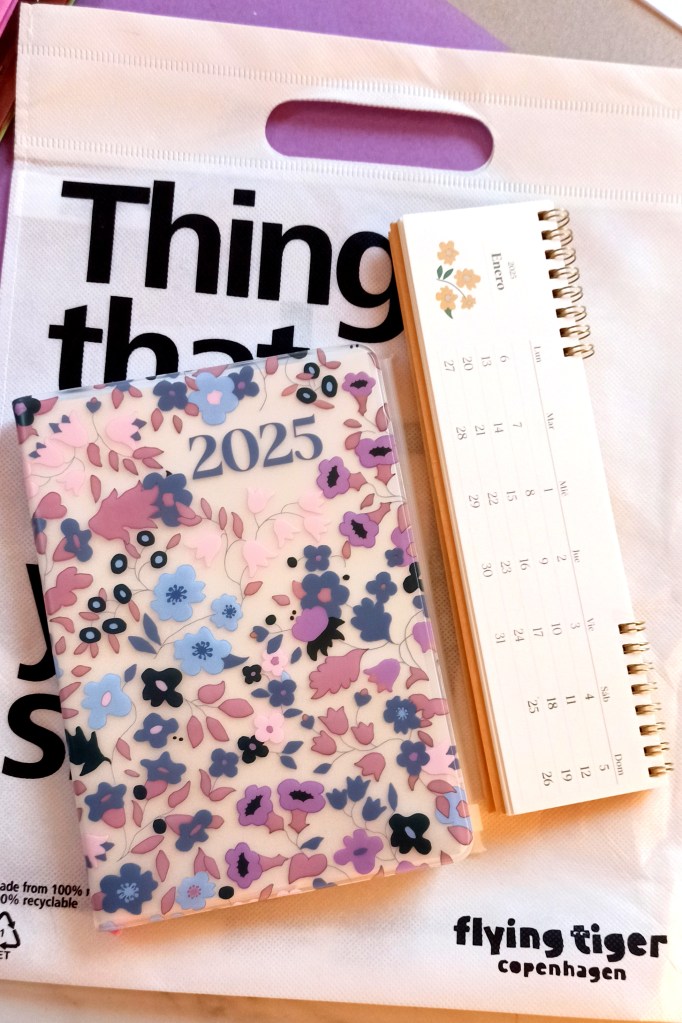
Este verano estuvimos en Asturias, España y en la tienda Flying Tiger encontré esta hermosa Agenda con una funda plastificada y un diseño de flores muy bonito. Además viene con un estuche para guardar recortes. También compré un calendario pequeñito para el escritorio.
Estos 3 productos los compré en la tienda Action que también es una cadena Holandesa, los links son de Alemania, pero se los agrego como referencia, para que los puedan encontrar en el pais donde viven.
Este es un diario muy especial porque es un proyecto que voy a comenzar cuando vallamos a vivir a España. En el diario de la Huertina de Toni se puede documentar durante todo un año el proceso de la huerta. Les adjunto el link.
Planificadores → a partir del 2025 voy a estar entregando planificadores a travez de Patreon y Etsy por muy poco dinero al mes. Es un set mensual con diferentes tipos de planificadores para pintar y trabajar. Nose todavía a partir de cuando comenzaré este proyecto nuevamente, los tendré informados.
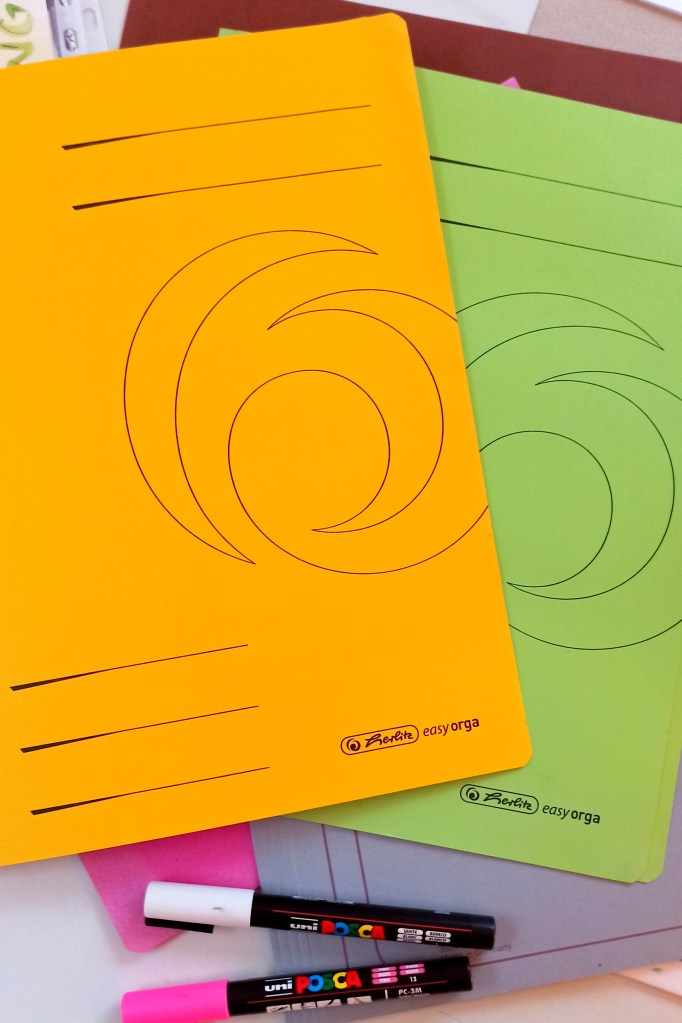
Utilizo este tipo de carpetas escolares de cartón para organizar todos los planificadores. Se pueden conseguir en papelerías, yo las compro en la tienda Rossmann.
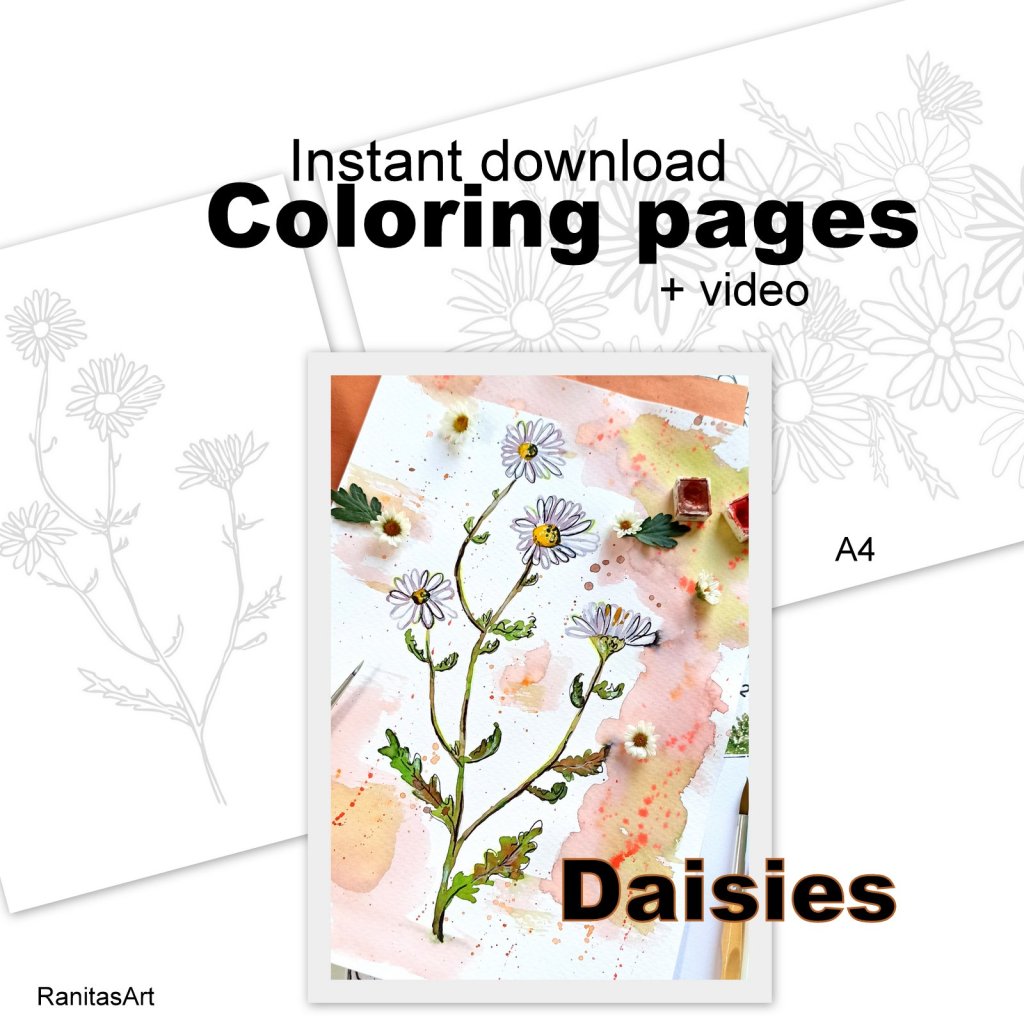
En este video hablo sobre los planificadores y les muestro como pinto una lámina con margaritas. Los planificadores mensuales vienen siempre con una lámina botánica para pintar, que pueden encuadrar y colgar.
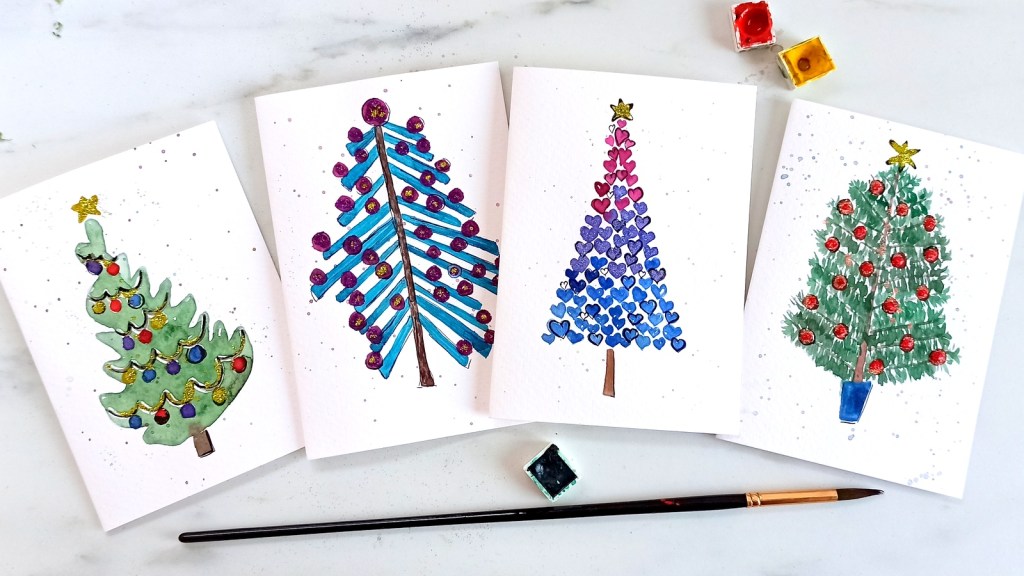
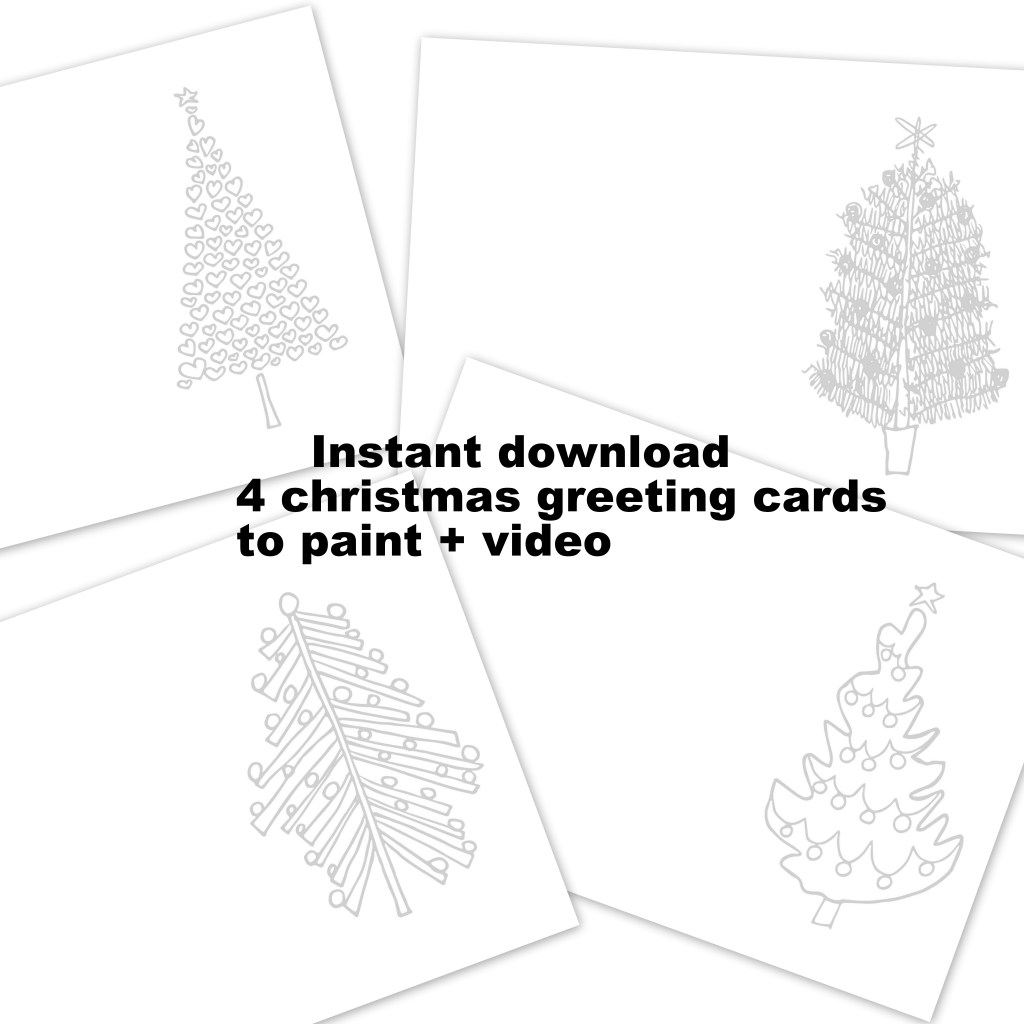
EN → In today’s post I show you a step-by-step video on how to paint 4 different Christmas trees. I prepared the sketches so that you can download them on the page and I can paint them. They are in A6 and A5 card form in a very light gray color so you can paint directly over them. Ideally, print the sketch directly on 180 gr watercolor paper. – 300 gr. . In the video I show you how to paint the 4 Christmas trees with watercolors, decorating them at the end with glitter. You can also paint them with colored pencils, in black and white with fineliner, with gouache or acrylics.
Each tree has a different technique and steps to follow. You can go forward and rewind the video to see each tree separately, since the techniques get mixed up a little, because you have to pay attention to the drying between each step. Enjoy the video and I’ll leave you some tips so you can do the job better.
ES → En el post de hoy les muestro un video paso a paso de como pintar 4 diferentes árboles navideños. Preparé los bocetos para que puedan descargarlos en la página y pueda pintarlos. Están en forma de tarjeta A6 y A5 en un color gris muy claro para que puedan pintar directamente por encima. Ideal es imprimir el boceto directamente sobre papel para acuarelas de 180 gr. a 300 gr. . El el video les muestro como pintar los 4 árboles navideños con acuarelas, decorandolos al final con brillantina. También pueden pintarlos con lápices de colores, en blanco y negro con microfibra, con gouache o acrílicos.
Cada árbol tiene una técnica y pasos diferentes a seguir. Pueden ir adelantando y retrocediendo el video para ver cada árbol por separado, ya que las técnicas se van entremezclando un poco, porque hay que prestar atención al secado entre medio de cada paso. Disfruten del video y les dejo algunos tips para que puedan realizar mejor el trabajo.
DE → Im heutigen Beitrag zeige ich euch ein Schritt-für-Schritt-Video, wie Ihr 4 verschiedene Weihnachtsbäume anmalt. Ich habe die Skizzen so vorbereitet, dass Ihr sie auf der Seite herunterladet und sie anmalen könnt, im A6- und A5-Kartenformat in einem sehr hellgrauen Farbton erhältlich, sodass Ihr sie direkt übermalen könnt. Druckt ir die Skizze idealerweise direkt auf 180 g – bis 300 g. Aquarellpapier aus . Im Video zeige ich euch, wie Ihr die 4 Weihnachtsbäume mit Wasserfarben anmalst und sie zum Schluss mit Glitzer verzierst. Ihr können sie auch mit Buntstiften, in Schwarz und Weiß mit Fineliner, mit Gouache oder Acrylfarben anmalen.
Für jeden Baum gibt es unterschiedliche Techniken und Schritte. Ihr könnt das Video vor- und zurückspulen, um jeden Baum einzeln zu sehen, da die Techniken etwas durcheinander geraten, da Ihr zwischen den einzelnen Schritten auf das Trocknen achten müsst. Genießt das Video und ich gebe euch einige Tipps, damit Ihr die Arbeit einfacher machen könnt.
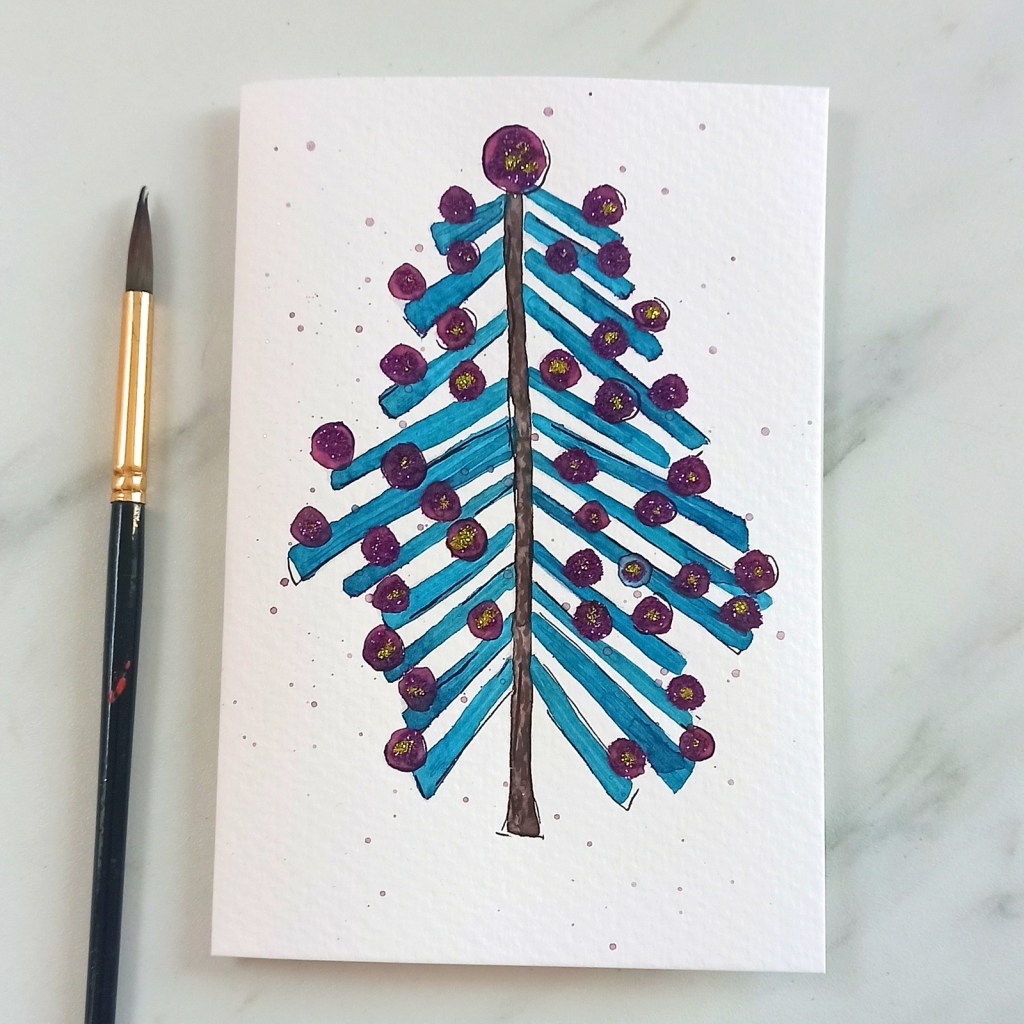
EN → Tree 1: to paint this Christmas tree we will begin to paint the branches in turquoise blue and let the trunk dry. Then we painted the balls in dark purple and let them dry again. Then we marked some details in black ink and splashed the spots with watercolor and a brush, hitting it a little so that the paint fell. Once the paint is completely dry, we will apply the glitter with glue.
ES → Árbol 1 : para pintar este árbol navideño comenzaremos a pintar las ramas en color azul turqueza y el tronco de dejamos secar. Luego pintamos las bolas en color violeta oscuro y dejamos secar nuevamente. Despué marcamos algunos detalles en tinta negra y salpicamoes mancas con acuarela aguada y un pincel, golpeandolo un poco para que caiga la pintura. Una vez que la pintura esté completamente seca, aplicaremos la brillantina con pegamento.
DE → Baum 1: Um diesen Weihnachtsbaum zu bemalen, fangen wir an, die Zweige türkisblau zu bemalen und lassen den Stamm trocknen. Anschließend werden wir die Kugeln dunkellila bemalen und wieder trocknen lassen. Dann werden wir einige Details mit schwarzer Tinte markieren und die Karte mit Wasserfarbe und einem Pinsel bespritzt, wobei wir leicht darauf klopften, damit die Farbe fällt. Sobald die Farbe vollständig getrocknet ist, tragen wir den Glitzer mit Kleber auf.
EN → Tree 2: first we will paint the balls and the garland with masking fluid and let them dry. Then we will paint the entire tree with green watercolor and let it dry. Then we will remove the masking fluid and paint the balls in different colors. We will paint the garlands and the stems brown. Next we will add details in ink and drops of watercolor wash throughout the card. Lastly we will add details with glitter and glue.
ES → Árbol 2: primeramente pintaremos con masking fluid las bolas y la girnalda y dejaremos secar. Luego pintaremos con acuarela verde todo el árbol y dejamos secar. Despuésquitaremos el masking fluid y pintaremos las bolas de diferentes colores. Las girnaldas y el tallos lo pintaremos de marrón. A continuación agregaremos detalles en tinta y gotas de acuarela aguada por toda la tarjeta. Por último agregaremos detalles con brillantina y pegamento.
DE → Baum 2: Zuerst bemalen wir die Kugeln und die Girlande mit Maskierflüssigkeit und lassen wir trocknen. Anschließend bemalen wir den gesamten Baum mit grüner Wasserfarbe und lassen ihn trocknen. Anschließend entfernen wir die Maskierungsflüssigkeit und bemalen die Kugeln in verschiedenen Farben. Wir werden die Girlanden und die Stiele braun bemalen. Als Nächstes werden wir auf der gesamten Karte Details mit Tinte und Wasserfarbentropfen hinzufügen. Zuletzt fügen wir Details mit Glitzer hinzu.
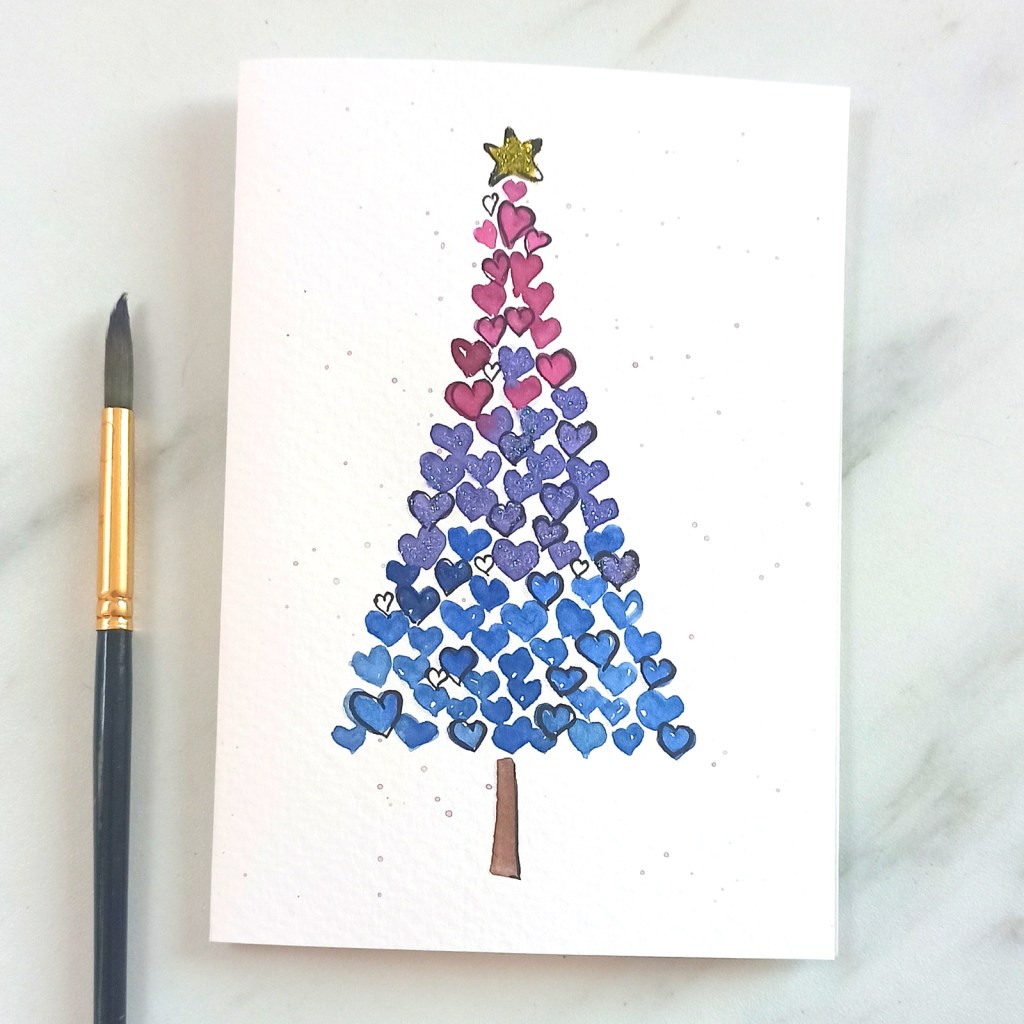
ES → Árbol 3: pintaremos el árbol de corazones en forma de degradé con 3 colores de la misma familia. Yo elegí azúl, violeta y fuxia. Una vez que los colores estén secos y hayamos pintado el tallo y la estrella, agregaremos detalles en tinta y algunos corazones extras solo en tinta. Luego con un pinsel pequeño y acuarela aguada agregaremos manchas de acuarela y dejaremos secar. Por último con pegamento pegaremos la brillantina.
EN → Tree 3: we will paint the heart tree in a gradient shape with 3 colors from the same family. I chose blue, violet and fuxia. Once the colors are dry and we have painted the stem and star, we will add ink details and some extra ink-only hearts. Then with a small pinsel and diluted watercolor we will add watercolor spots and let it dry. Finally, with glue we will stick the glitter.
DE → Baum 3: Wir werden den Herzbaum in einer Verlaufsform mit 3 Farben aus derselben Familie bemalen. Ich habe mich für Blau, Violett und Fuchsia entschieden. Sobald die Farben trocken sind und wir den Stiel und den Stern bemalt haben, fügen wir Tuschedetails und einige zusätzliche Herzen nur mit Tusche hinzu. Dann fügen wir mit einem kleinen Pinsel und verdünnter Wasserfarbe Aquarellflecken hinzu und lassen es trocknen. Zum Schluss kleben wir den Glitzer mit Kleber auf.
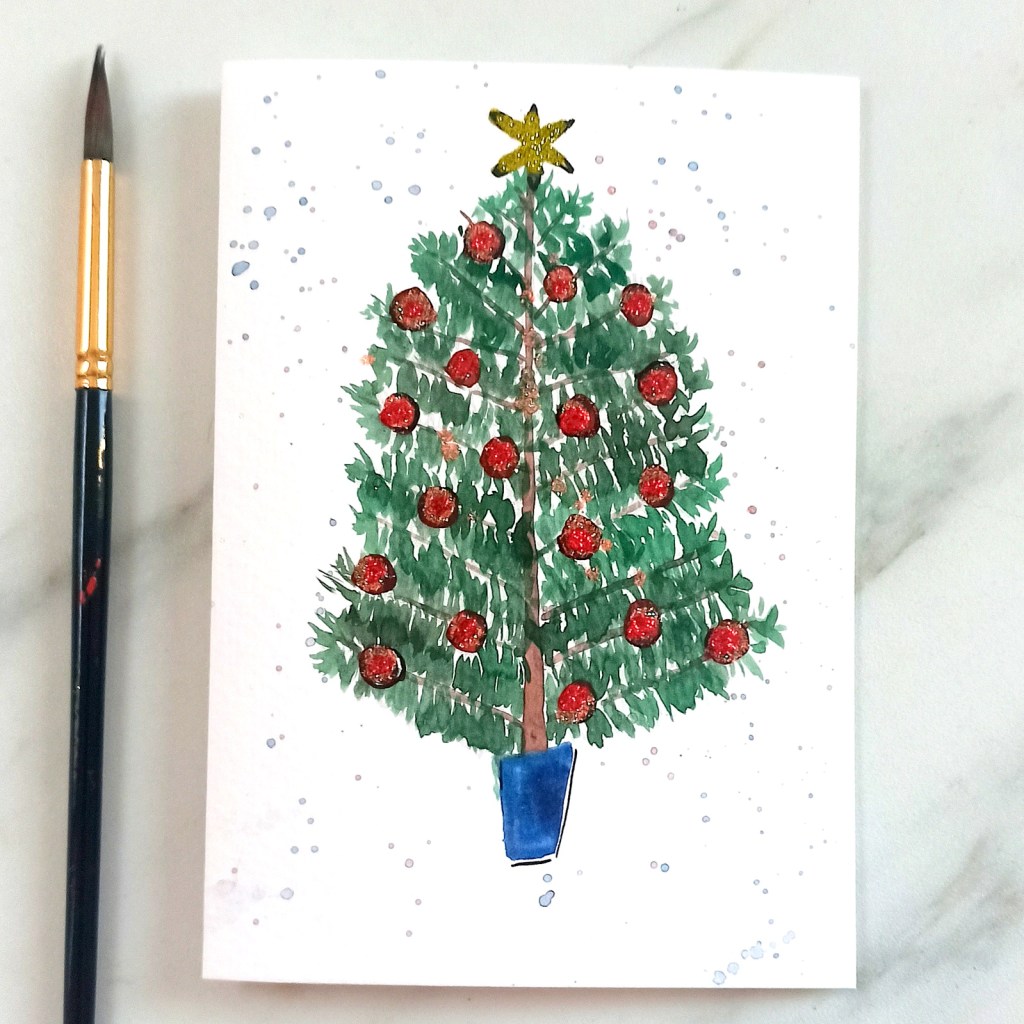
ES → Árbol 4 : Primero pintaremos el tallo y las ramas en marrón, además de la maceta y la estrella y dejaremos secar. Luego pintaremos las bolas en color rojo y volvemos a dejar secar. Después pintaremos las ramas verdes y nuevamente dejaremos secar. Agregaremos manchas aguadas en acuarela y por último pegaremos la brillantina.
EN → Tree 4: First we will paint the stem and branches in brown, as well as the pot and the star and let it dry. Then we will paint the balls red and let them dry again. Then we will paint the branches green and let them dry again. We will add watercolor spots and finally we will glue the glitter.
DE → Baum 4: Zuerst bemalen wir den Stamm und die Zweige in Braun, sowie den Topf und den Stern und lassen ihn trocknen. Anschließend bemalen wir die Kugeln rot und lassen sie wieder trocknen. Anschließend werden wir die Zweige grün anmalen und wieder trocknen lassen. Wir werden Aquarellflecken hinzufügen und zum Schluss den Glitzer aufkleben.
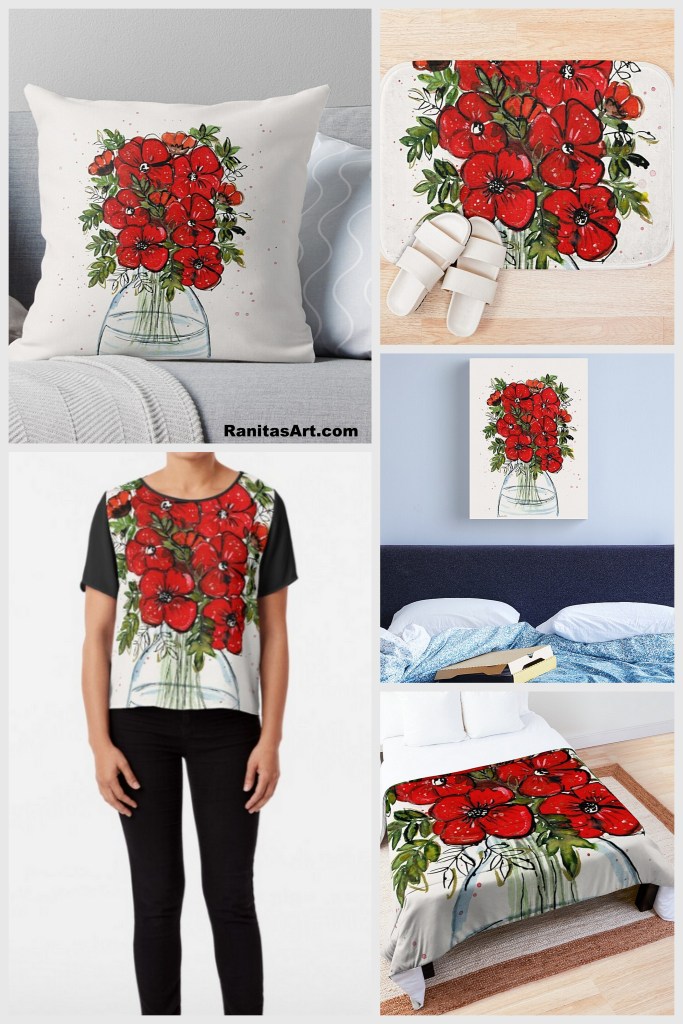
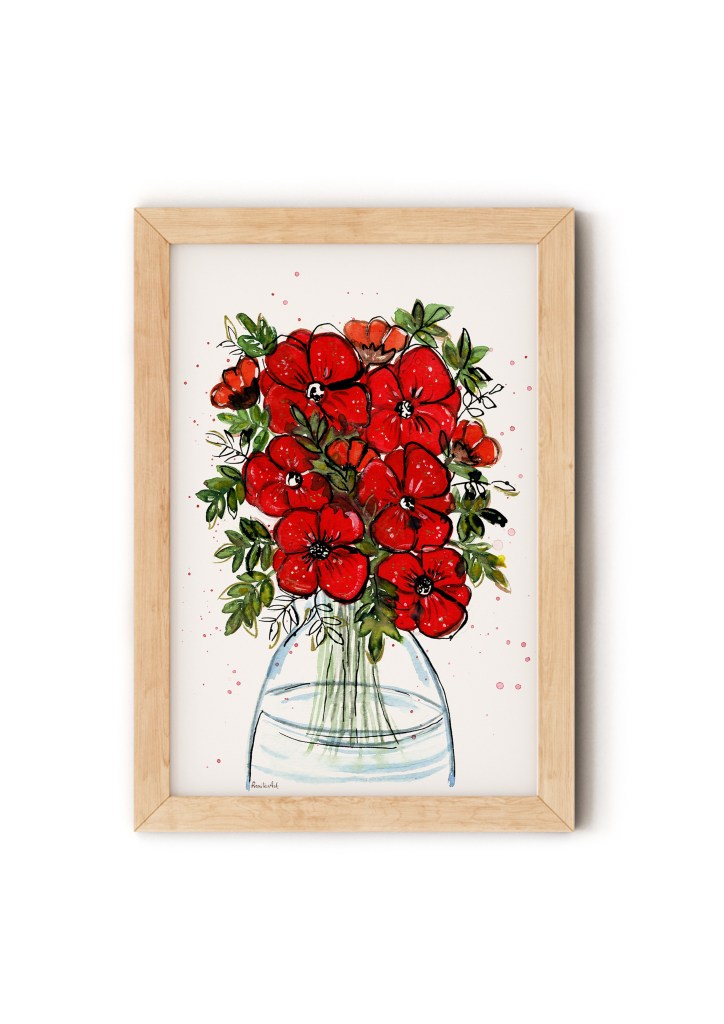
EN → In today’s post I will show you a new design → a vase with red flowers painted with watercolor. I made a video so you can see my work process step by step. First I drew a sketch in pencil, then colored in with watercolors and added details with ink. You can see the finished design on Society6 and Redbubble.
ES → En el post de hoy les muestro un nuevo diseño de un jarrón con flores rojas. Realicé un video para que puedan ver paso a paso mi proceso de trabajo. Primero dibujé un boceto a lapiz, luego lo pinté con acuarelas y agregué detalles en tinta. Pueden ver el diseño terminado en Society6 y Redbubble.
DE → Im heutigen Post zeige ich euch ein neues Design → eine Vase mit rote Blumen mit Aquarell gemalt. Ich habe ein Video gemacht, damit Ihr meinen Arbeitsprozess Schritt für Schritt sehen könnt. Zuerst habe ich eine Skizze mit Bleistift gezeichnet, dann mit Wasserfarben angemalt und Details mit Tinte hinzugefügt. Ihr könnt das fertige Design auf Society6 und Redbubble sehen.
EN → I also created a downloadable for those who like to paint or embroider, I leave you the downloadable sketch in my Etsy shop.
ES → También cree un descargable para quien les guste pintar o bordar, les dejo el descargable del boceto en mi tienda Etsy.
DE → Ich habe auch eine herunterladbare Skizze für diejenigen erstellt, die gerne malen oder sticken. Ich lasse euch die herunterladbare Skizze in meinem Etsy-Shop.
Download the folder with the downloadables from Etsy to your PC and open the Zip format to access the downloadables.
Necessary materials: paper for watercolors, watercolors, plate, water, cloth, black ink, pen, brushes, pencil and rubber.
You can use the materials you have at home. I recommend the Watercolors that I really like → the Schmincke and Winsor and Newton brand, for watercolor paper I really like the Hanemühle brand. You can also use metallic watercolors that are beautiful.
Print the design of the size you prefer on watercolor paper, you will see that it is in a very light gray color so that you can paint without problems on top.
For the best result, watch the entire video and then start painting.
ES → Tips para pintar el florero con flores rojas:
Descargar de Etsy la carpeta con los descargables a tu Pc y abrir el formato Zip, para acceder a los decargables.
Materiales necesarios: papel para acuarelas, acuarelas, plato, agua, trapo, tinta negra, pluma, pinceles, lapiz y goma.
Pueden utilizar los materiales que tengan en casa. Les recomiendo las Acuarelas que a mi me gustan mucho → la marca Schmincke y Winsor and Newton, para el papel acuarela me gusta mucho la marca Hanemühle. También pueden utilizar acuarelas metálicas que quedan hermosas.
Imprimir el diseño del tamaño que prefieras sobre papel para acuarelas, veras que está en un color gris muy claro para que puedas pintar sin problemas por encima.
Para un mejor resultado es mirar el video por completo y luego comenzar a pintar.
DE → Tipps zum Bemalen der Vase mit roten Blumen:
Laden Sie den Ordner mit den herunterladbaren Dateien von Etsy auf Ihren PC herunter und öffnen Sie das Zip-Format, um auf die herunterladbaren Dateien zuzugreifen.
Sie können die Materialien verwenden, die Sie zu Hause haben. Ich empfehle die Aquarelle, die ich sehr mag → die Marke Schmincke und Winsor and Newton, als Aquarellpapier mag ich die Marke Hanemühle sehr. Sie können auch schöne Metallic-Wasserfarben verwenden.
Drucken Sie das Design in der von Ihnen bevorzugten Größe auf Aquarellpapier, Sie werden sehen, dass es in einer sehr hellen grauen Farbe ist, sodass Sie problemlos darauf malen können.
Um das beste Ergebnis zu erzielen, sehen Sie sich das gesamte Video an und beginnen Sie dann mit dem Malen.
EN → in the image I added some phosphorescent colored pencils, which also serve very well to give details in the outline of the flowers.
ES → en la imagen agregué unos lapices de colores fosforecente, que también sirven muy bien para dar detalles en el contorno de las flores.
DE → Im Bild habe ich einige phosphoreszierende Buntstifte hinzugefügt, die auch sehr gut dazu dienen, Details in den Umrissen der Blumen darzustellen.